Small Balcony Decorating Checklist for Renters
A balcony is the one outdoor space most renters get, and it usually arrives with complications: a lease that limits what you can attach to the walls, an inspection somewhere down the line, weather that has no respect for your cushions, and maybe three square metres of concrete. None of that has to mean a folding chair and one sad planter. The trick is choosing pieces that survive outside, take up little room, and come apart in an afternoon when you move. Here is a checklist that walks through what to measure, what to buy, and how to arrange it so the space feels put together rather than improvised.
Measure First, Then Read Your Lease
Before you buy anything, spend ten minutes with a tape measure. Note the width and depth of the floor area, the height of the railing, how far the door swings, and what sits overhead — an overhang changes everything about rain and sun exposure. Then check which direction the balcony faces and where the wind funnels through. A west-facing, exposed balcony on the fifth floor will punish lightweight plastic and thirsty plants alike.
Next, read the parts of your lease that mention balconies, common areas, and alterations. Most landlords care about drilling, adhesive mounts, painting, hanging planters over the outside of the railing, and whether a barbecue is allowed at all. Ask about anything unclear in writing, so you have an answer to point to later. If your building has strict rules or you are unsure what applies where you live, check with your landlord or a local tenants' advice service before installing anything.
Choose Materials That Handle Weather
Renter-friendly does not mean flimsy, but it does mean thinking about what happens after two rainy weeks. Powder-coated aluminium and steel hold up far better than untreated iron, which rusts and stains concrete. For wood, look for teak, acacia, or eucalyptus, or any piece labelled suitable for outdoor use; bare pine will grey and split. Resin, HDPE, and rattan-look synthetic weaves are light, cheap to replace, and shrug off rain.
For cushions and rugs, outdoor-rated fabrics matter more than colour. Solution-dyed acrylics and quick-drying polypropylene foam survive damp better than cotton, which mildews fast. If you cannot store cushions indoors, choose a bench or box that closes and keep them inside it overnight. And test for wind: anything light enough to lift with one finger is light enough to end up on your neighbour's balcony, so prefer stackable chairs with a bit of weight, or add a tie-down strap to the railing.
Build Up, Not Out
Floor space is the scarcest thing on a small balcony, so go vertical. Clamp-on railing planters need no drilling, and over-railing shelves hold herbs and small pots without eating floor area. A slim trellis fixed to the wall with removable adhesive strips — rated for outdoors and for the weight you plan to hang — can carry a climbing plant or a string of small lanterns. A freestanding vertical planter with fabric pockets does the same job with zero attachment.
A tension rod between two solid walls can hold hanging plants or a lightweight screen, but it only works where the surfaces are firm and the span is short. Whatever you add, keep one clear walking path from the door. A balcony you have to sidestep through stops being a room and becomes a storage closet.
Seating and Surfaces That Fold Away
The furniture that earns its place is the furniture that disappears. A two-seat bistro set folds flat against the wall when not in use. Nesting side tables pull apart for guests and stack into one small footprint afterwards. A storage bench gives you seating plus a dry home for cushions, a watering can, and the string lights you bought for a party. Stools double as side tables. If you eat outside regularly, a wall-mounted drop-leaf table is worth asking your landlord about, since it clears the floor entirely when folded down.
Choose seating for the way you actually use it
If you mostly drink coffee out there for twenty minutes, one comfortable chair beats four that fit nobody. If you host, folding chairs stored behind a door are more practical than a permanent bench you cannot move when you relocate. Count how many people will realistically sit out there at once, then subtract one.
Flooring, Rugs, and Light Without Drilling
Concrete and tile look better immediately with interlocking deck tiles. They need no adhesive, click together over the existing floor, and lift out easily for sweeping and for the day you move. Just make sure water can still drain away underneath. An outdoor rug in polypropylene adds warmth and makes the space feel like a room rather than a ledge; roll it up and store it when storms are forecast.
For light, the least invasive option is a plug-in string light set run from an indoor socket through the door gap, with the cable kept clear of the closing edge so it is not pinched. Rechargeable table lamps, solar lanterns, and clip-on LED lights for the railing all avoid cables entirely. Avoid permanent wall fixtures and anything that requires screws into brick or render.
Small Touches: Plants, Privacy, and Shade
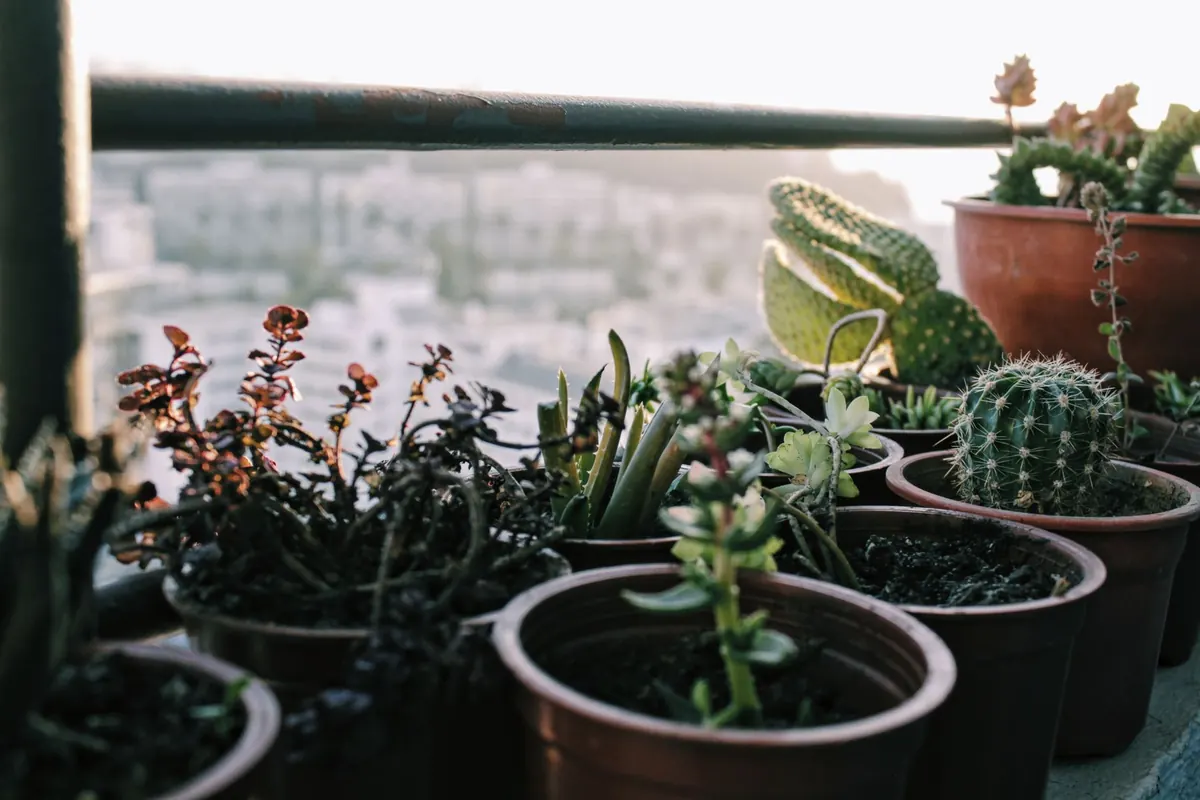
Match plants to the light and wind you actually have. Herbs, ornamental grasses, and succulents cope well with exposed, sunny balconies; ferns and calatheas want shelter and shade. Use saucers under every pot so water does not drip onto the neighbours below, and choose pots heavy enough not to tip but light enough to move alone.
For privacy, a bamboo or reed screen fixed to the railing with zip ties comes down in minutes, and tall grasses or a slim planter box do the same job more gently. A fabric screen with grommets can be threaded onto a tension rod between two walls where the fit is tight. Add a tray for drinks, a candle lantern, and one cushion you can carry inside, and the space starts to feel deliberate. A folding parasol or a shade sail attached to the railing gives you afternoon cover without touching the building itself.
The Renter's Balcony Checklist
- Measured floor, railing height, and door swing
- Lease and building rules confirmed in writing
- Weather-safe materials chosen: powder-coated metal, outdoor wood, resin, solution-dyed fabrics
- Vertical storage added: railing planters, shelves, trellis, hanging pots
- Furniture that folds, stacks, or nests
- Closed storage for cushions, cables, and tools
- Removable flooring or an outdoor rug with drainage underneath
- Lighting with no drilling: plug-in, solar, or rechargeable
- Waterproof cable protection where a lead crosses the doorway
- Saucers under all pots, and a plan for windy days
- One clear path in and out
Set It Up in an Afternoon, Take It Down in Ten Minutes
Before you start, photograph the balcony as it is now — bare walls, existing marks, original floor. When you move out, you will be glad you have that record. Install the least permanent items first, keep every screw, clamp, and bracket in a labelled bag, and store anything that folds in a dry place over winter.
Then clean as you go. Sweep under the deck tiles, wipe the railing, and lift off the adhesive hooks while they are still easy to remove. Do a quick check a month after setting up: tighten clamps, empty saucers, and replace anything that has started to rust or fade. A balcony you can assemble and dismantle without a drill, and leave exactly as you found it, is one you can enjoy without watching the deposit.
Photo: Stefano Photography / Pexels