How to Style Kitchen Counters Like a Designer Without Clutter
Kitchen counters attract things. Mail, keys, chargers, three bottles of oil, a blender you used once in March. The counters that look styled rather than staged aren't the ones with the most on them — they're the ones where every object has a reason to be there and a boundary to stay inside. That's the whole trick, and it's learnable in an afternoon.
You don't need a renovation or a trolley full of new accessories. You need a work zone, a tray, and a rule for what gets to stay.
Start With the Work Zone, Not the Decor
Before you place a single vase, decide which stretch of counter is off-limits to decorating. Stand where you chop and picture the space you actually need: roughly 24 inches of clear surface beside the sink and beside the hob, plus room to open the dishwasher and pull a drawer all the way out. That's your work zone. Everything else — the corners, the run under the window, the stretch beside the fridge — is styling space, and it can be treated differently.
This one decision solves most clutter problems on its own. A counter with no clear place to cut an onion is not a styled counter; it's a shelf with ambitions.
Use the Three-Object Formula
Nearly every kitchen counter a designer photographs is built from a group of three objects at three different heights. Not three of the same thing — three roles.
- Tall: something vertical that breaks the eye line. A bottle of olive oil, a pepper mill, a slim vase with one branch.
- Medium: something with body that anchors the group. A leaning cutting board, a stack of two bowls, a small crock of utensils.
- Low: something quiet that finishes the corner. A dish of flaky salt, a candle, a bowl of lemons.
Set the group slightly off-centre rather than dead in the middle, and angle the pieces a few degrees away from each other so the arrangement reads as a collection rather than a line-up. Repeat the pattern once or twice along the counter, but never evenly — matching groups at identical intervals start to look like a showroom display.
Three is a starting point, not a law. On a short counter, two objects often look better. Five will look like a market stall no matter how good the individual pieces are.
Put Small Things on a Tray
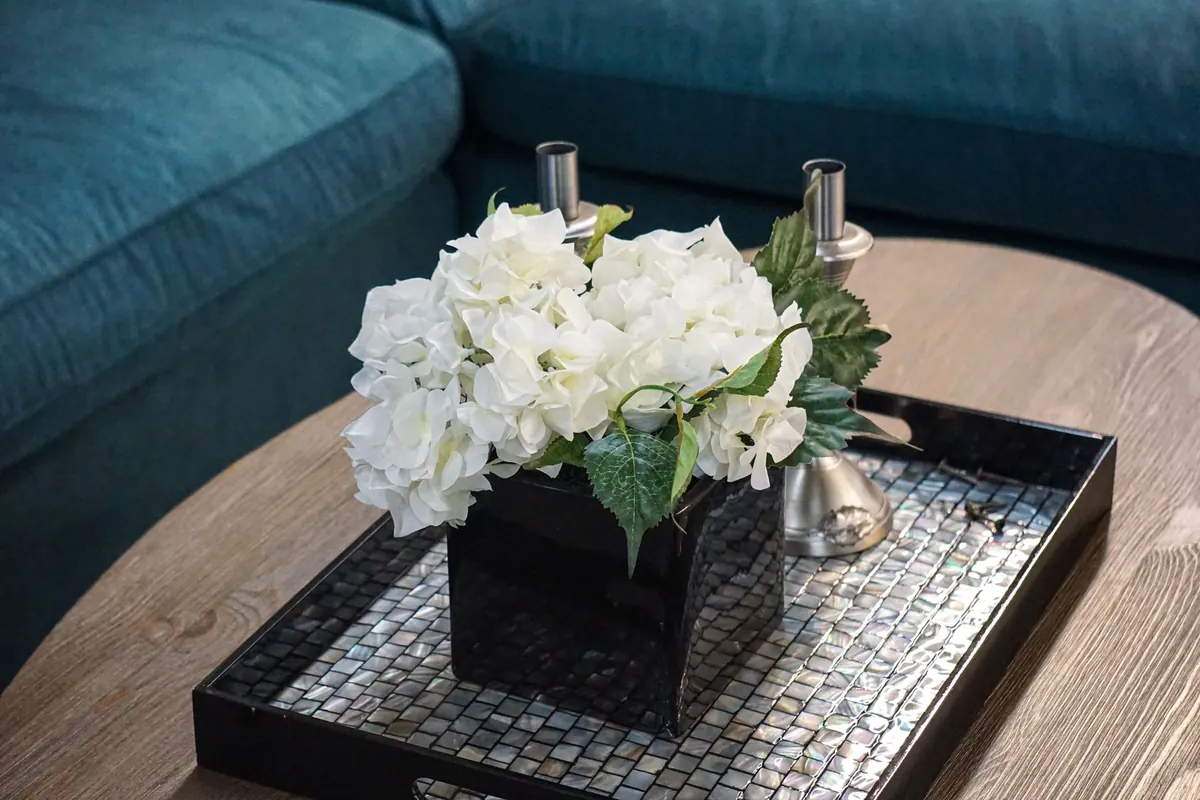
A tray is the difference between a collection and a mess. It draws a visible boundary, so several small objects read as one object. It also lets you lift everything at once to wipe underneath, which is the practical reason people actually keep the system going.
Match the tray to the job. Beside the hob, a small round tray holding oil, salt and pepper. On a back run, a long board or shallow tray with the coffee gear: grinder, scoop, a couple of mugs. Choose a tray slightly smaller than you think you need, and leave a border of bare counter around it. That margin does more for the look than any object sitting on top.
Let Two or Three Materials Set the Palette
Counter clutter is often a colour problem in disguise. Ten objects in ten finishes look untidy even when they're perfectly arranged. Pick two or three materials — wood, matte ceramic, glass, brass, black metal — and repeat them around the room. A wooden board, a wooden utensil crock and a wooden tray feel like one decision instead of three. Add a single accent colour, such as olive green or terracotta, and use it twice at most.
Don't forget your appliances. They're part of the palette whether you planned for them or not. If your kettle and toaster are both stainless steel, lean into it: keep the decor in wood and white ceramic and let the metal carry the shine.
Work the Wall, Not Just the Surface
The most reliable way to make a counter look calm is to take things off it. Lean a large cutting board against the splashback instead of laying it flat. Hang a rail for utensils, or a narrow shelf for the oils and spices you reach for daily. Stand two cookbooks upright against the wall rather than stacking them.
Vertical storage frees surface area and adds height without adding another object to dust. If you rent and can't drill, a slim leaning shelf or a board propped behind a tray does the same job.
What Shouldn't Live on the Counter
Designers aren't stricter than you are. They just move faster. Anything used less than a few times a week is better off in a cupboard, where it stays cleaner anyway.
- Appliances you use rarely — the panini press, the second blender. Bring them out when you need them.
- Spice jars for spices you seldom cook with. Heat and light degrade spices, so the cupboard is often the better home regardless of looks.
- Mail, chargers, keys, headphones. These need a landing spot, not a countertop — one drawer or wall hook solves it for good.
- Cleaning bottles and sponges, which belong under the sink or in a caddy you can tuck away.
- Decorative objects in bulk: three matching candles, a row of figurines, a wooden sign. Pick one and let the tray hold the rest.
A Two-Minute Reset You'll Actually Keep
Styling a counter once is easy. Keeping it styled is a habit, and it only needs two minutes, ideally before you leave the kitchen for the night.
- Clear whatever arrived during the day — post, chargers, receipts. If something has no home, give it one now.
- Wipe the surface, including under the trays. Lifting and replacing them takes seconds.
- Rebuild your groups: tray square to the wall, board leaning, tall object at the back.
Then judge it from the doorway instead of from arm's length. If the counter looks busy from five steps away, take one object out of each group. That single edit is usually the difference between a counter that works and one that simply holds things.
A well-styled kitchen counter is never the fullest one. It's the one with room left to cook.
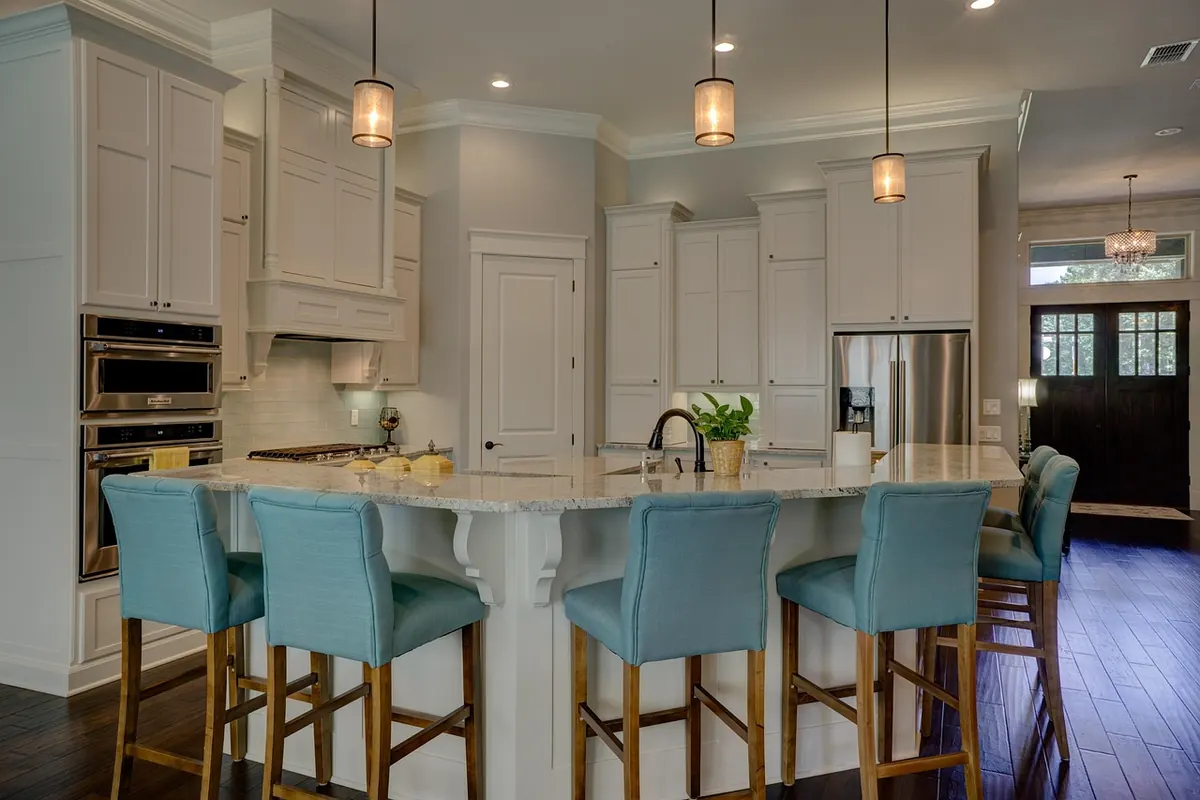
Photo: shadowfirearts / Pixabay